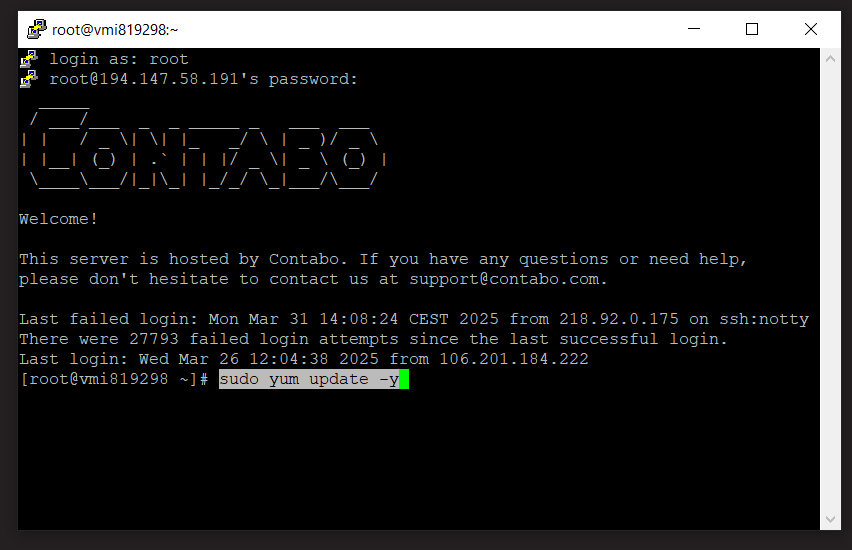
1. Login using Putty: https://clients.activeservers.in/knowledgebase/257/How-to-Connect-to-a-Linux-Server-Using-PuTTY-Step-by-Step-Guide.html
2. Update the System:
Before installing MySQL, ensure your system is updated: sudo yum update –y
3.Install MySQL Server:
- Add MySQL repository (if not already added):
sudo yum install -y https://dev.mysql.com/get/mysql80-community-release-el7-7.noarch.rpm
![]()
- Install MySQL:
sudo yum install mysql-server –y - Start and enable MySQL service:
sudo systemctl start mysqld
sudo systemctl enable mysqld

- Check MySQL Status:
sudo systemctl status mysqld
![]()
4. Secure MySQL Installation
- After installation, it is recommended to run the MySQL security script to set root password and apply basic security settings.
sudo mysql_secure_installation
- You will be asked to:
- Set the root password
- Remove anonymous users
- Disallow remote root login
- Remove test database
- Reload privilege tables
5. Log in to MySQL:
- Once installed, you can log in to the MySQL shell using:
sudo mysql -u root –p
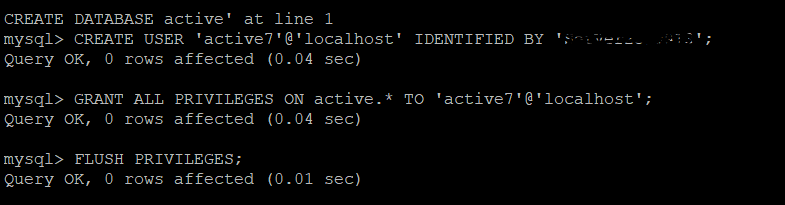
6.Create a Database and User:
- To create a new database and user:
CREATE DATABASE mydatabase;
CREATE USER 'myuser'@'localhost' IDENTIFIED BY 'mypassword';
GRANT ALL PRIVILEGES ON mydatabase.* TO 'myuser'@'localhost';
FLUSH PRIVILEGES;