Step 1: Log in to Cloudflare Dashboard
Sign in to your Cloudflare account
Select the domain for which you want to configure email routing

Step 2: Enable Email Routing
-
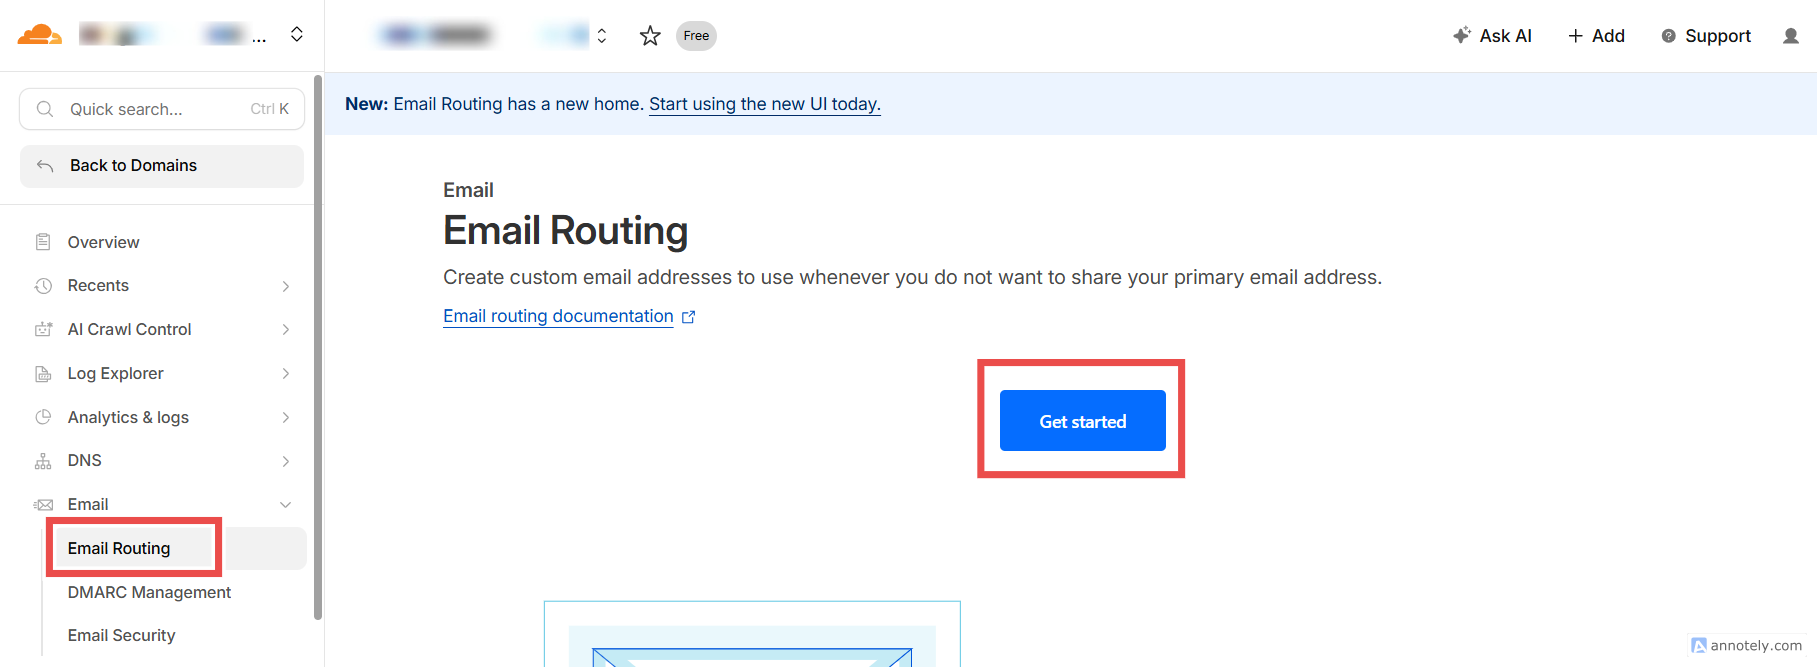
Go to Email → Email Routing
-
Click Enable Email Routing
-
Cloudflare will ask to add required DNS records
Click Add records and enable
Step 3: Verify Required DNS Records
Cloudflare automatically adds:
-
MX records
-
TXT records for verification
Make sure:
-
No conflicting MX records exist
-
Old mail server MX records are removed (if any)
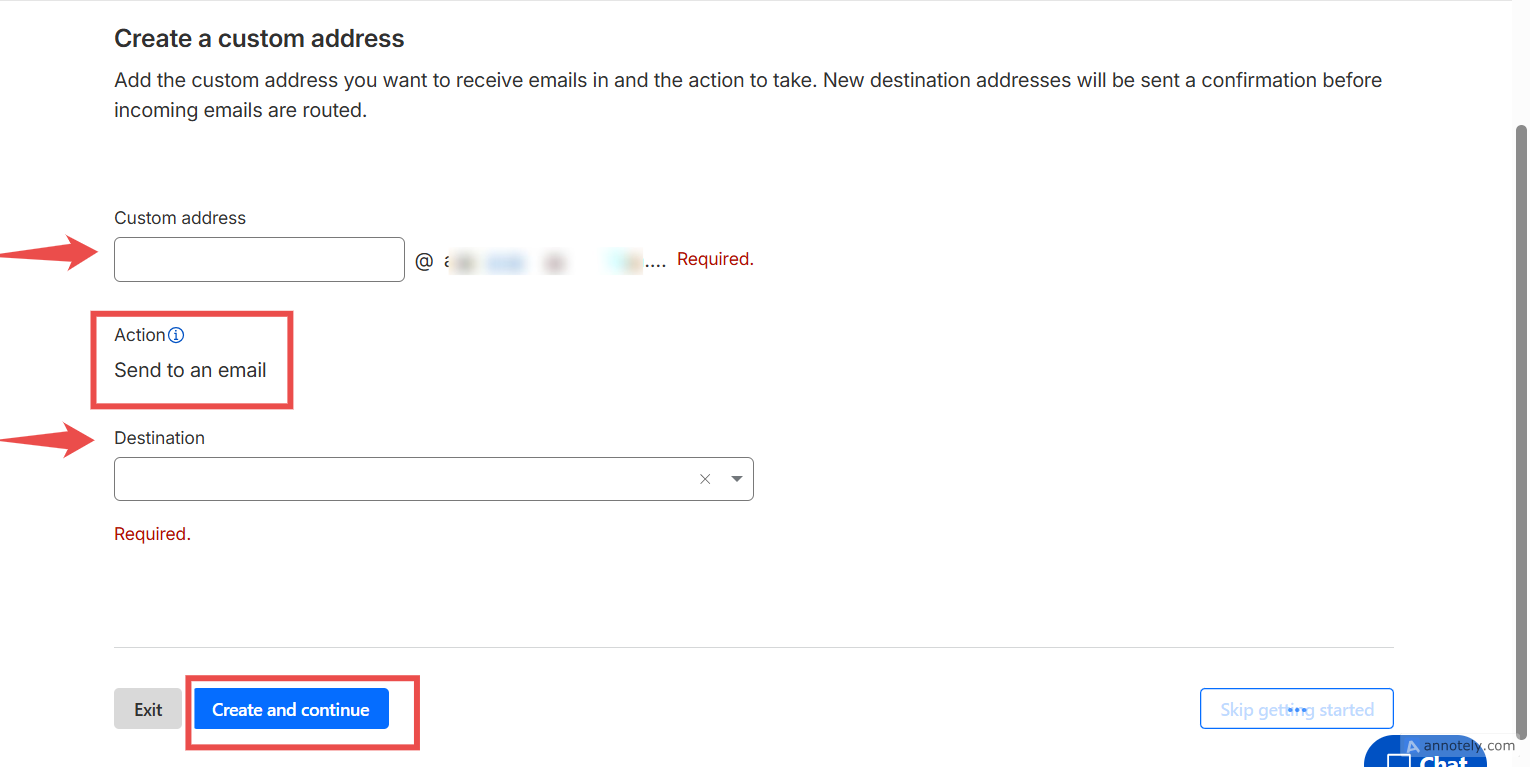
Step 4: Create a Custom Email Address
-
Under Email Routing, click Create address
-
Enter the custom email (example:
support@yourdomain.com) -
Choose the destination email address (example: your Gmail ID)
-
Click Save
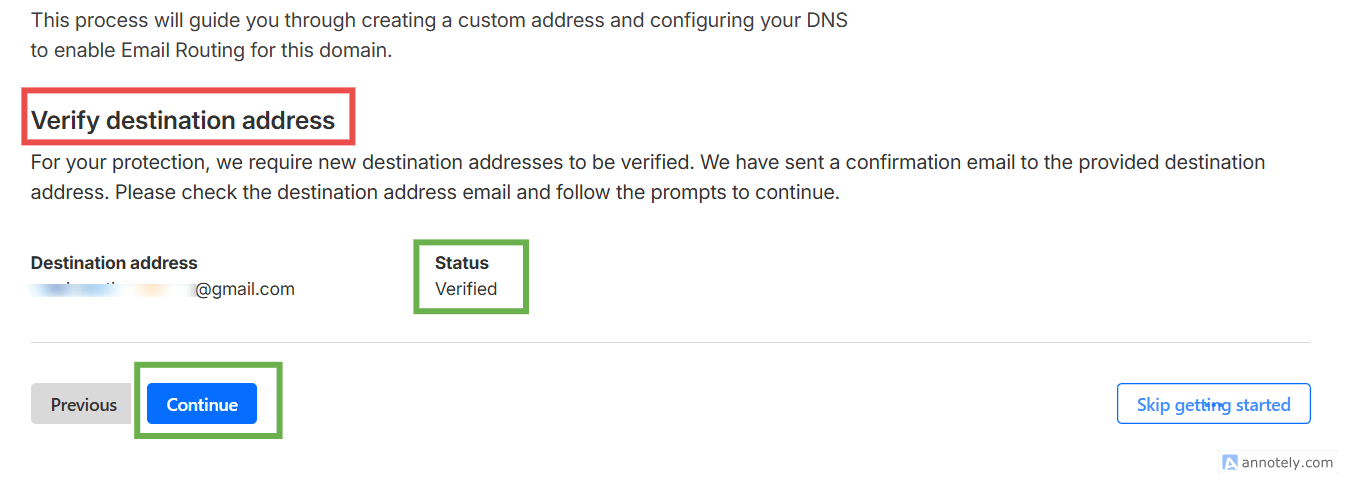
Step 5: Verify Destination Email Address
-
Cloudflare sends a verification email
-
Open the email and click Verify
-
Once verified, routing becomes active
Step 6: Test Email Routing
Send a test email to your custom domain email:
-
Example:
support@yourdomain.com -
Check if it arrives in your destination inbox
If received, email routing is successfully configured
