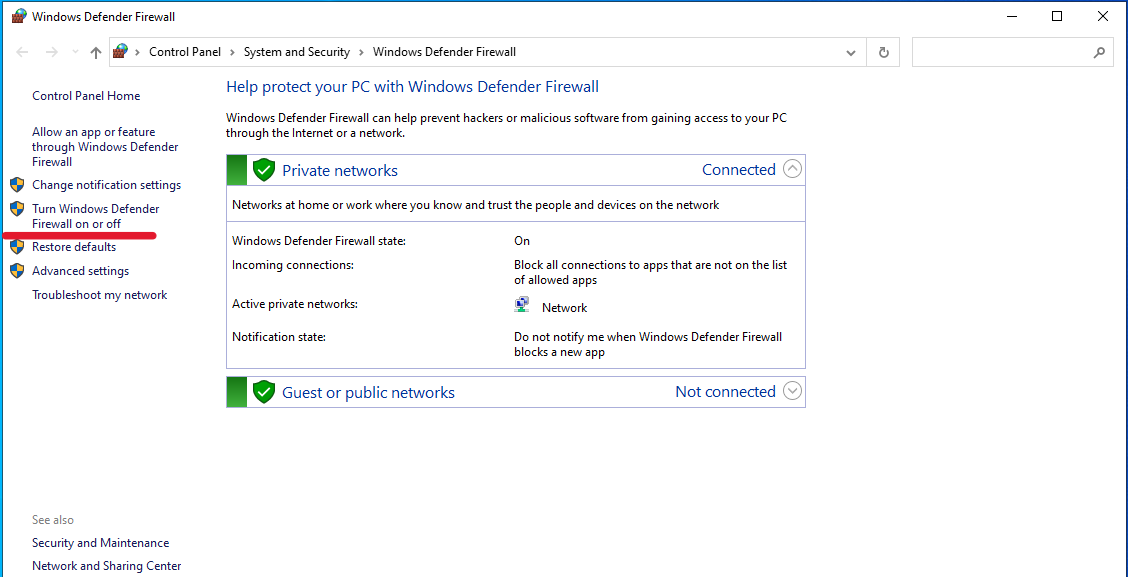
Step 1: Open Windows Security
- Click on Start Menu
- Search for Windows Security
- Click to open it
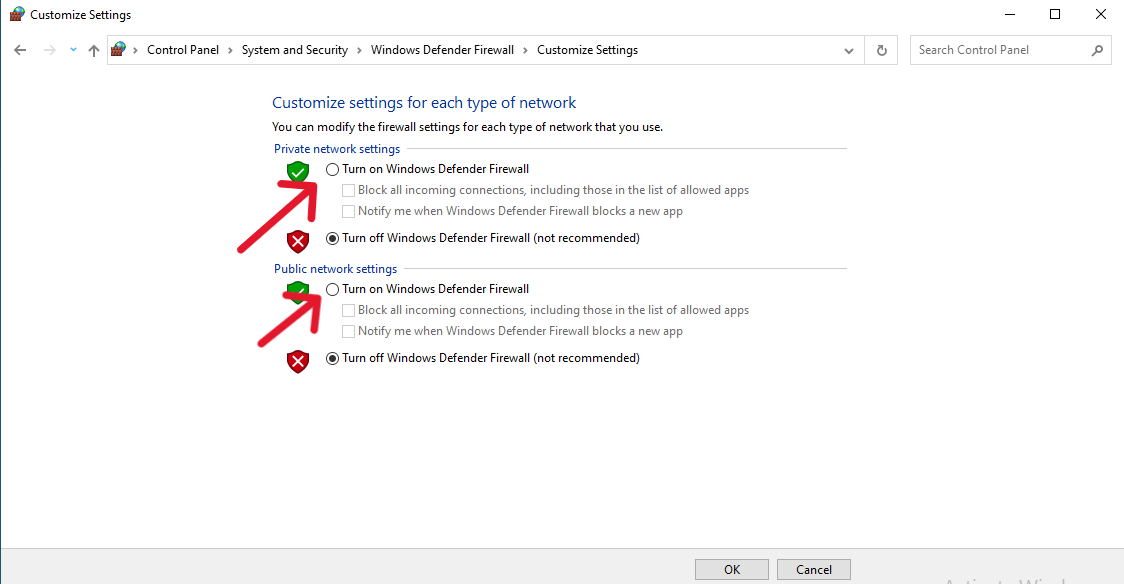
- Then click on Turn Windows Defender Firewall On or Off
Step 2: Turn On Virus & Threat Protection
- Click on Virus & Threat Protection
- Check if protection is ON
- If OFF, click Turn On
- Then click on OK
Step 3: Enable Real-Time Protection
- Click on Start Menu then Search for Virus & Threat Protection
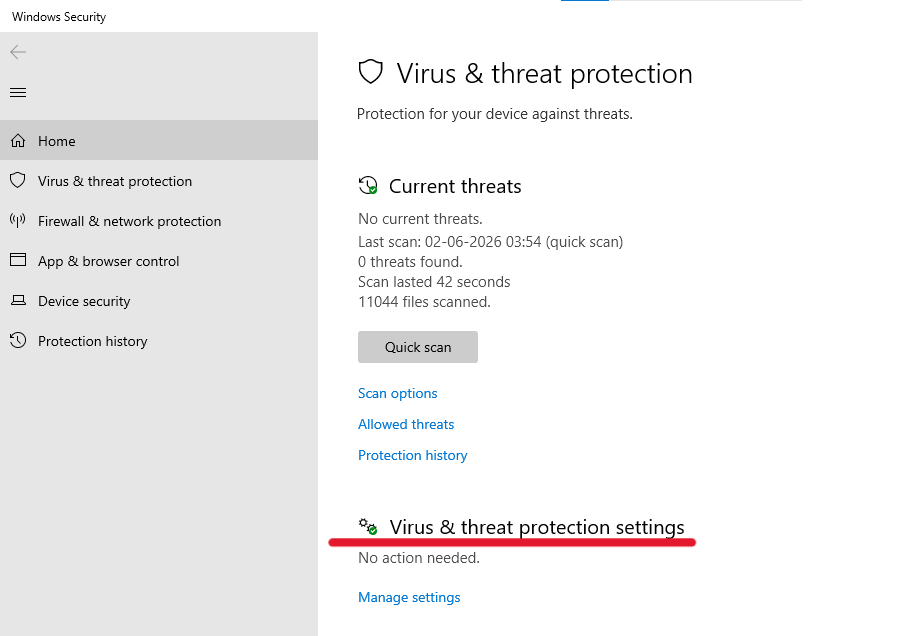
- Click on Virus & Threat Protection settings
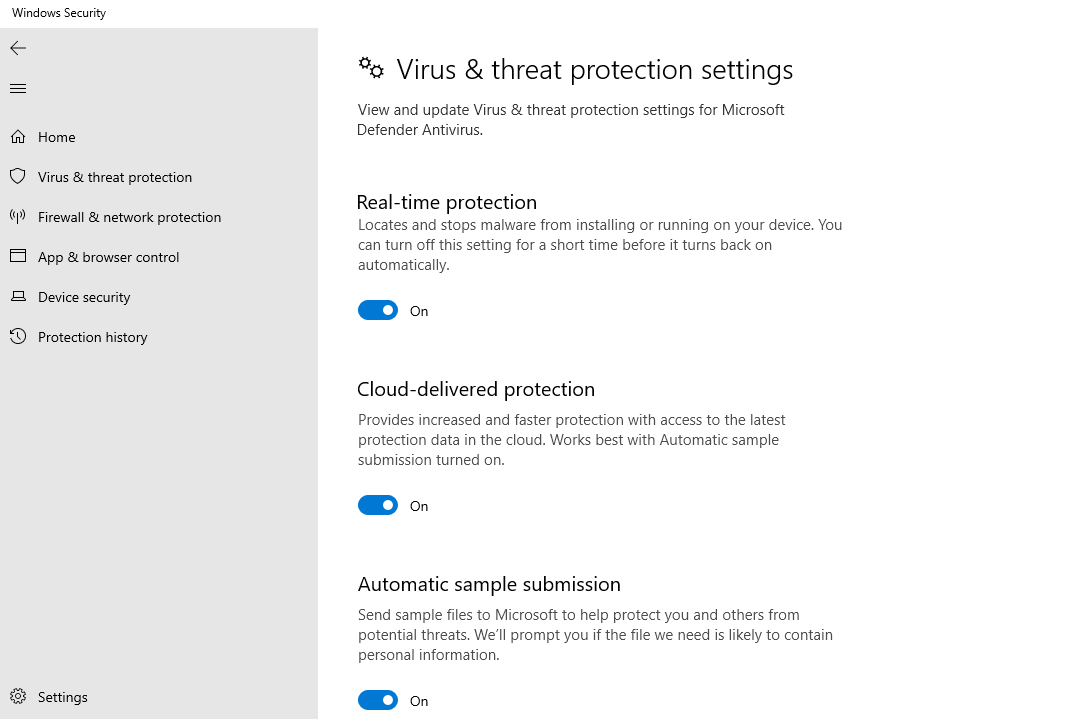
- Click Manage Settings
- Enable:
- Real-time Protection
- Cloud-delivered Protection
- Automatic Sample Submission
Step-by-Step: Run a Manual Scan
Running regular scans is important for server health.
Quick Scan
- Go to Virus & Threat Protection
- Click Quick Scan

Full Scan (Recommended Weekly)
- Click Scan Options
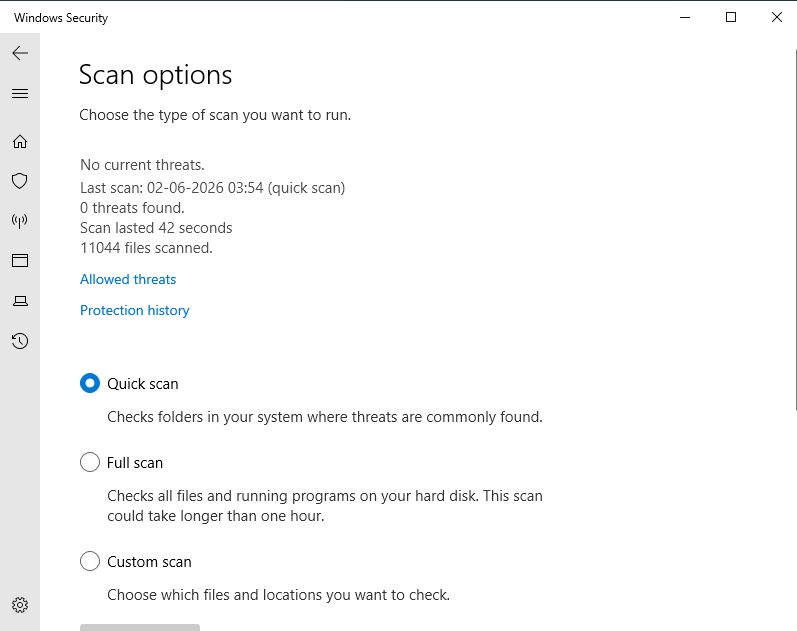
- Select Full Scan
- Click Scan Now
This checks your entire VPS for hidden threats.
