Step 1 : Open New Port in Windows Firewall (IMPORTANT)
-
Open Windows Defender Firewall

-
Click Advanced settings
-
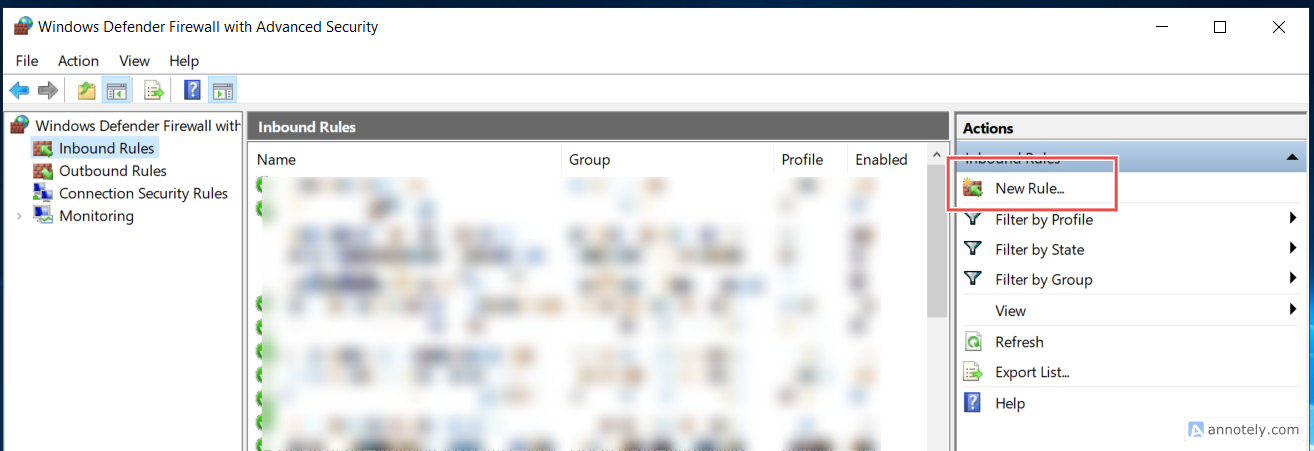
Go to Inbound Rules
-
Click New Rule
-
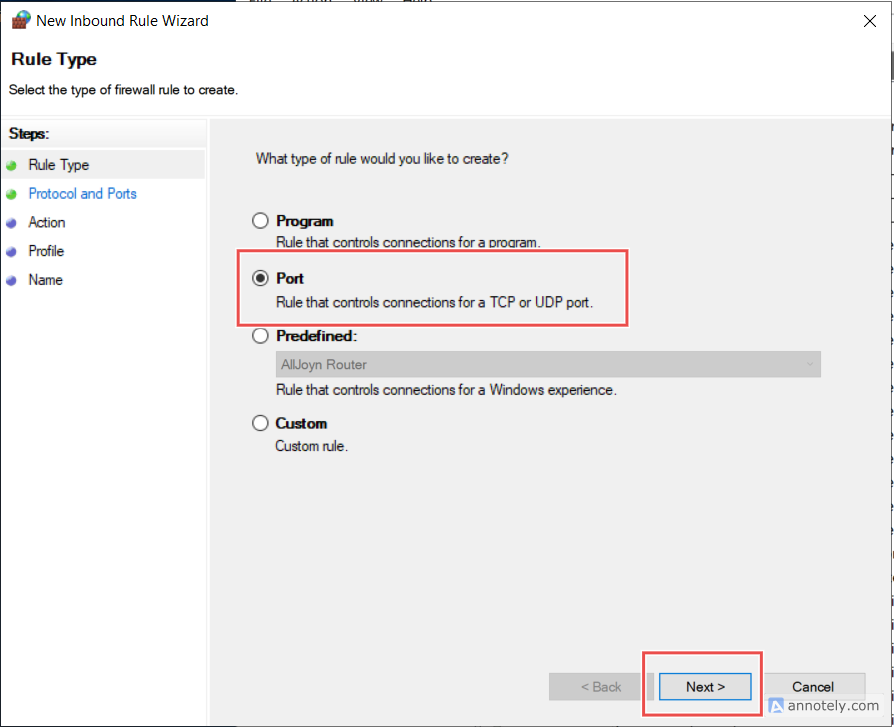
Select Port → Next
-
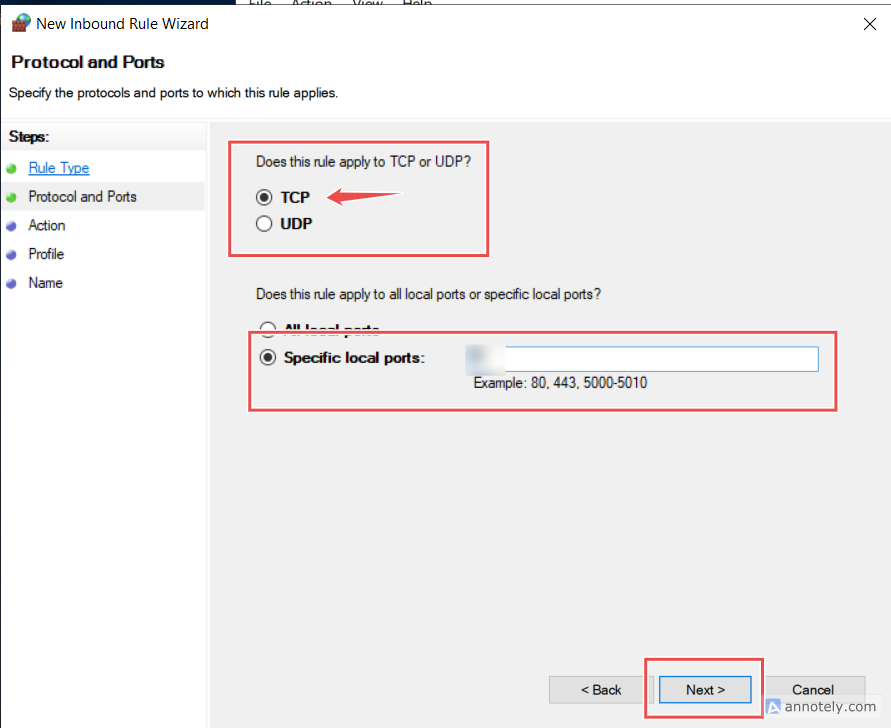
Select TCP
-
Enter the new port number
-
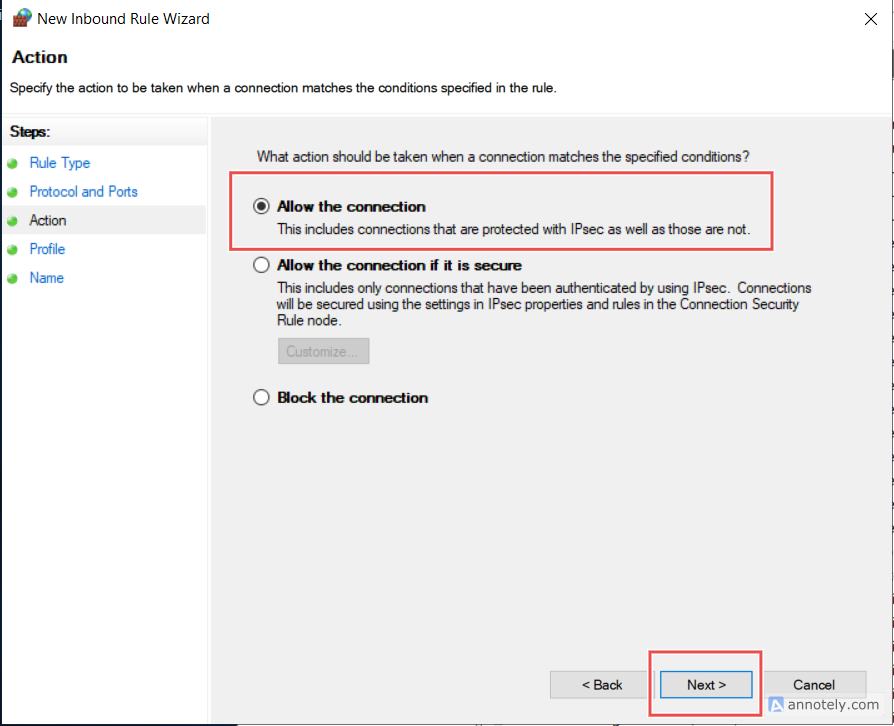
Allow the connection
-
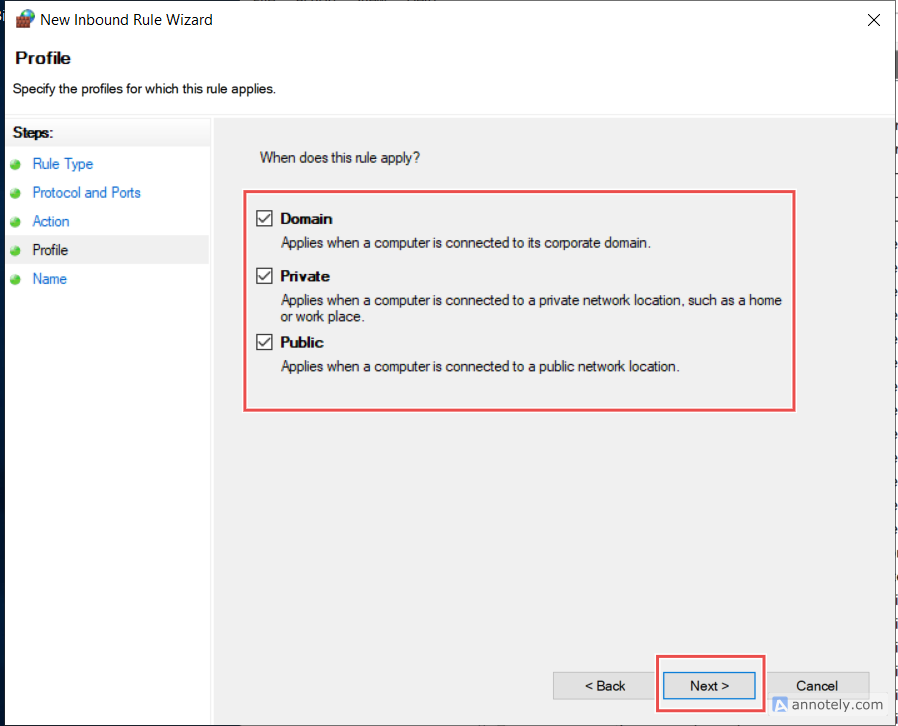
Apply to Domain / Private / Public
-
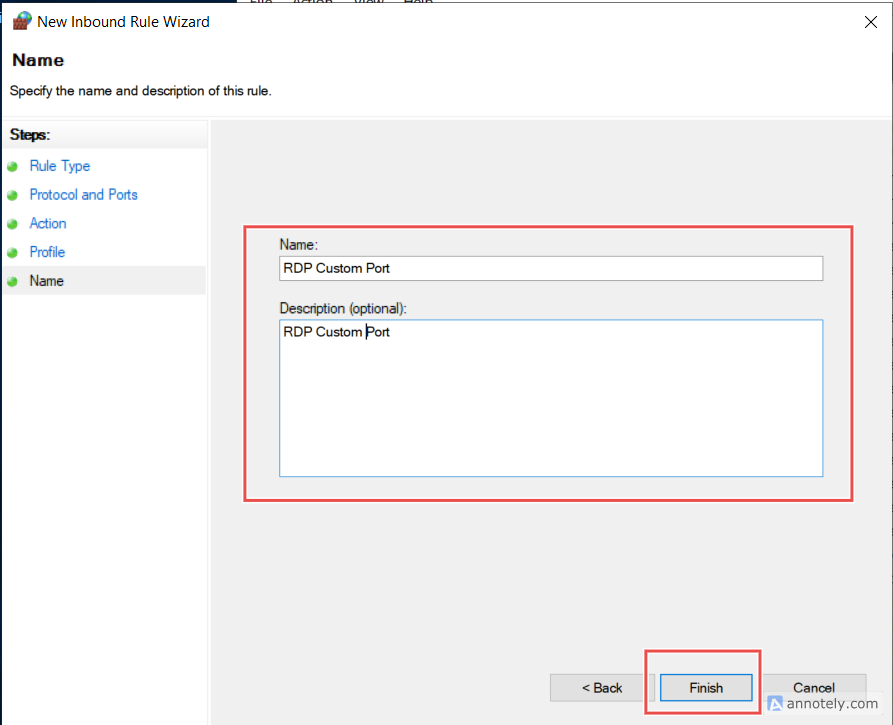
Name it:
RDP Custom Port 3390(example)
Step 2 : Change RDP Port in Registry
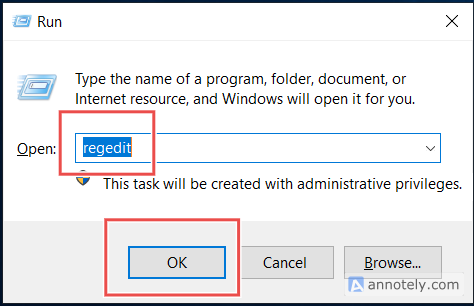
- Press Win + R → type
regedit→ Enter
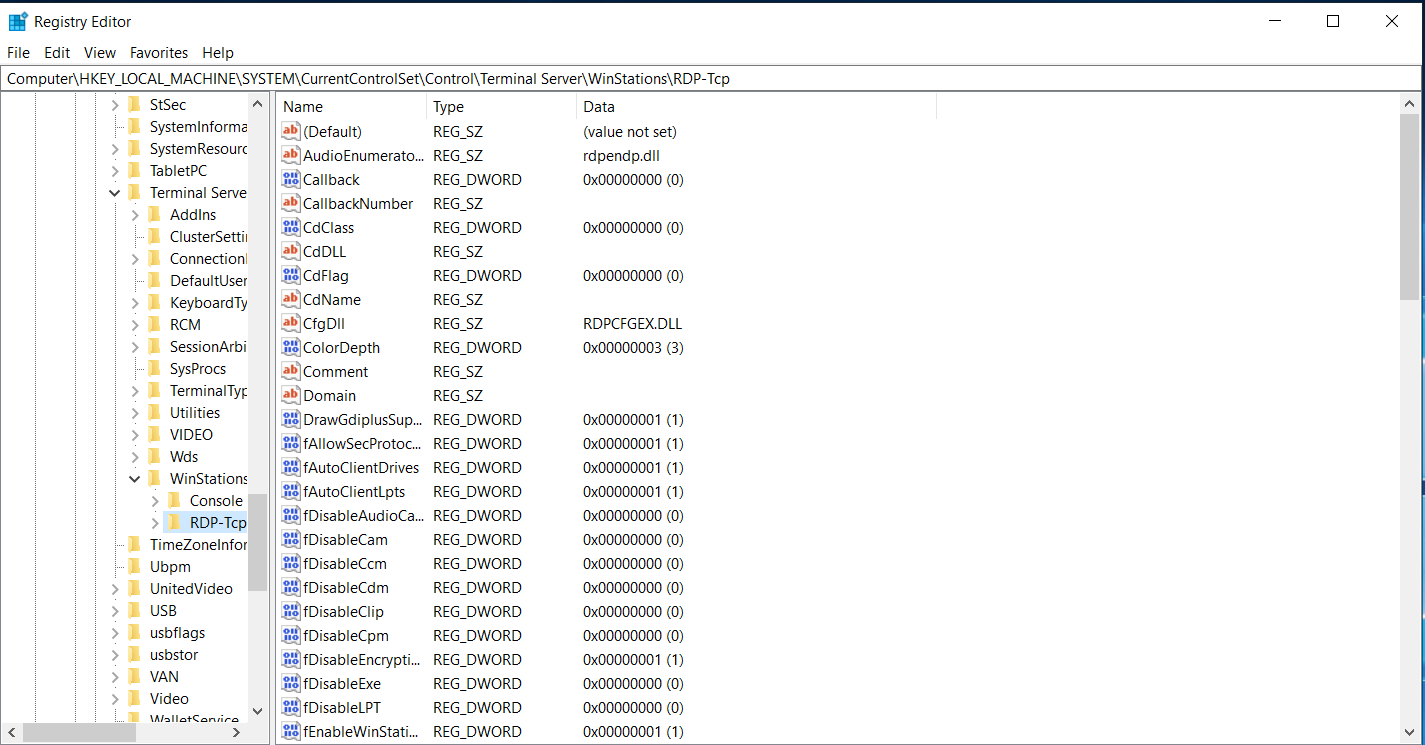
- Go to:
HKEY_LOCAL_MACHINE
└ SYSTEM
└ CurrentControlSet
└ Control
└ Terminal Server
└ WinStations
└ RDP-Tcp
-
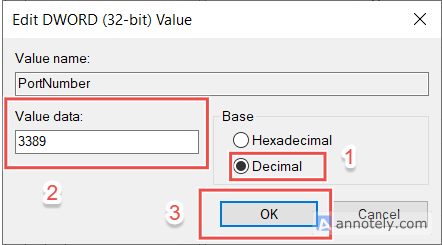
In the right pane, double-click PortNumber
-
Select Decimal
-
Change the port
Example:3389→3390(or any unused port like4444,5566)
-
Click OK and close Registry Editor
Step 3: Restart RDP Service (or Server)
